How To Create Stunning Mountains Drawing - A Step-by-Step Guide
Learning to draw mountains opens up a world of creativity and artistic expression. Whether you’re a beginner or someone looking to refine their skills, capturing the essence of these towering natural wonders can be an incredibly rewarding experience. This guide focuses on simple techniques and practical tips that make mountain drawing both enjoyable and approachable.
Mountains drawing doesn’t have to be complicated. By breaking down the process into manageable steps, even those new to art can create impressive landscapes. This article explores various methods, from basic shapes to adding depth through shading and texture. Along the way, you’ll discover how to bring your mountains to life with just a few tools and plenty of imagination.
Even if you’re intimidated by the idea of drawing an entire landscape, fear not! With the right approach, anyone can tackle this challenge. We’ll cover everything from choosing the right colors to incorporating elements like rivers, trees, and rocks. So grab your pencil, paper, and let’s get started on this artistic adventure.
Table of Contents
- Why Should You Try Mountains Drawing?
- What Are the Best Ways to Draw Mountains?
- How Do You Add Realism to Mountains Drawing?
- Tips for Beginners - Making Mountains Drawing Easier
- What Tools Do You Need for Mountains Drawing?
- Can You Use Reference Photos for Mountains Drawing?
- How Do You Create Depth in Mountains Drawing?
- Final Thoughts on Mountains Drawing
Why Should You Try Mountains Drawing?
So, why bother learning how to draw mountains? Well, for starters, it’s a fantastic way to connect with nature and express yourself artistically. Mountains drawing allows you to explore different textures, shapes, and lighting effects, all while improving your overall drawing skills. Plus, it’s a relaxing activity that lets you lose yourself in creativity.
Many people find inspiration in the majesty of mountains. Even if you’ve never climbed one, chances are you’ve admired their beauty from afar. Capturing that same sense of wonder on paper can be incredibly satisfying. And who knows? You might end up framing your artwork or sharing it with friends and family.
What Are the Best Ways to Draw Mountains?
There’s no single “right” way to draw mountains, but starting with simple shapes tends to work well. A large triangle in the center of your page can serve as the foundation for your tallest peak. Make the sides a little uneven to mimic natural imperfections. Then, add smaller triangles on either side for neighboring mountains.
You can also experiment with jagged lines instead of smooth ones. This technique adds texture and makes your mountains look more rugged. Sometimes, it’s the imperfections that make a drawing stand out. Don’t worry too much about perfection—just let your creativity flow.
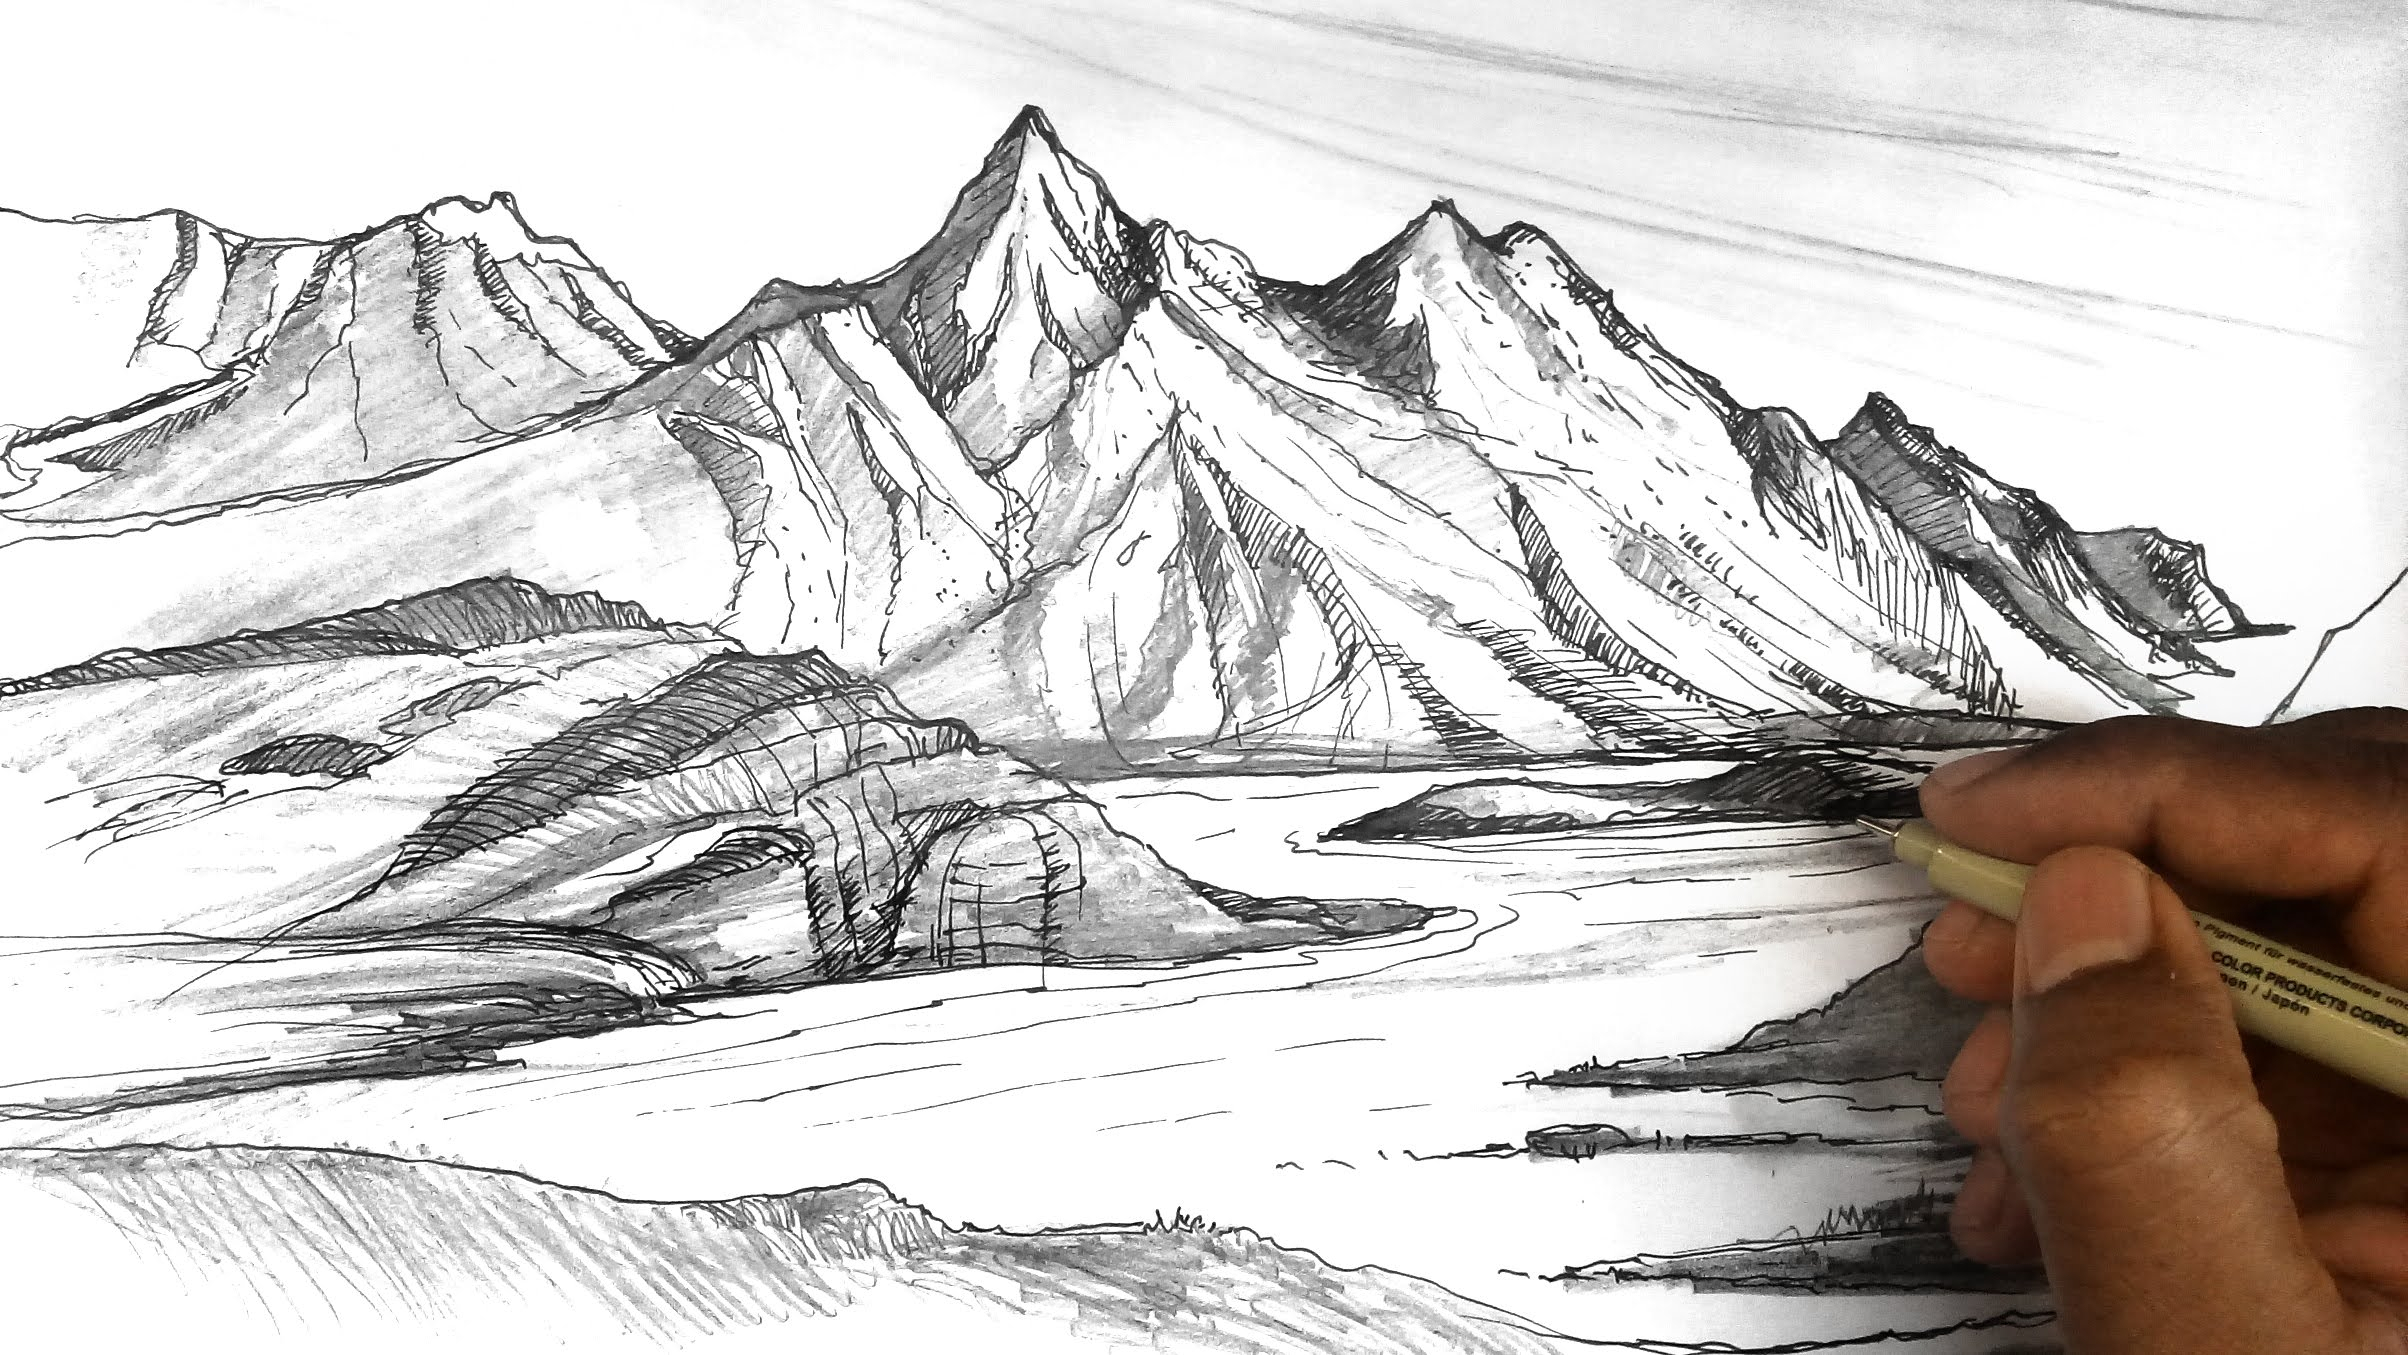
How Do You Add Realism to Mountains Drawing?
Adding realism to mountains drawing involves paying attention to details like light and shadow. For instance, if sunlight is hitting the mountains from one side, darken the opposite side to create contrast. You can achieve this effect using shading techniques like cross-hatching or stippling.
Texture plays a big role as well. Use short, quick strokes to represent rocks or snow. If you’re drawing a forested mountain, try layering small dots or dashes to suggest trees. These subtle touches can transform a basic sketch into something truly captivating.
Tips for Beginners - Making Mountains Drawing Easier
Alright, here are some handy tips to simplify the process:
- Start with a horizontal line for the horizon. This gives your drawing structure and helps establish perspective.
- Use a reference photo if you’re unsure where to begin. It’s totally okay to look at examples for guidance.
- Practice breaking mountains down into basic shapes before moving on to more complex details.
- Don’t rush! Take your time with each step, and don’t be afraid to erase and try again.
Remember, practice makes progress. Even professional artists started out as beginners. Just keep experimenting and having fun with it.
What Tools Do You Need for Mountains Drawing?
For mountains drawing, you don’t need anything fancy. A good pencil and eraser are essential, along with a sheet of paper. Some folks prefer mechanical pencils for finer details, while others enjoy the versatility of charcoal sticks. It’s really up to personal preference.
Once you’re comfortable with the basics, you might want to experiment with colored pencils, watercolors, or pastels. These mediums allow you to add vibrant hues and explore different styles. For example, a snowy mountain might benefit from cool blues and whites, while a forested peak could feature warm greens and browns.
Can You Use Reference Photos for Mountains Drawing?
Sure, absolutely! Reference photos can be incredibly helpful when learning how to draw mountains. They provide visual cues for things like proportions, textures, and lighting. Plus, they give you a starting point if you’re feeling a bit stuck.
Just a little advice: don’t feel pressured to copy the photo exactly. Instead, use it as inspiration. Maybe you like the shape of one mountain but want to tweak the colors or add your own unique touches. The goal is to create something that feels personal and meaningful to you.
How Do You Create Depth in Mountains Drawing?
Creating depth in mountains drawing often comes down to layering. Start with the closest mountain and gradually work your way back. Use lighter lines for distant peaks to simulate atmospheric perspective. Essentially, the farther away something is, the less detail it should have.
Another trick is to vary the size of your mountains. Larger ones in the foreground appear closer, while smaller ones in the background seem farther away. Adding elements like rivers, trees, or rocks can also enhance the sense of depth. These little details help ground your drawing and make it feel more realistic.
Do You Need to Follow Strict Rules for Mountains Drawing?
Not necessarily. While certain techniques can improve your results, there’s plenty of room for creativity. Think of rules as guidelines rather than hard-and-fast requirements. After all, art is about self-expression, and that includes mountains drawing.
If you feel like adding a tree at the foot of the mountain or drawing a river below the picture, go for it! There’s no wrong way to approach this. Sometimes, the best ideas come from simply letting your imagination run wild.
Final Thoughts on Mountains Drawing
In some respects, mountains drawing is all about finding joy in the process. Whether you’re sketching jagged peaks or rolling hills, the key is to enjoy yourself and embrace the learning experience. By following simple steps and experimenting with different techniques, you’ll soon find yourself creating stunning landscapes.
Don’t forget to share your work with others. Who knows? Your artwork might inspire someone else to pick up a pencil and try their hand at mountains drawing. And that, right there, is the beauty of creativity.
To recap, we’ve covered the importance of starting with basic shapes, using reference photos, and adding depth through layering. We’ve also discussed tools, tips, and the freedom to express yourself however you see fit. So, what are you waiting for? Grab your supplies and start exploring the world of mountains drawing today!
Mountain Landscape Drawing at GetDrawings | Free download

Pencil Sketches Landscapes Tutorial

Mountain Range Drawings : Mountain Range Ink Clouds Drawing Forest
