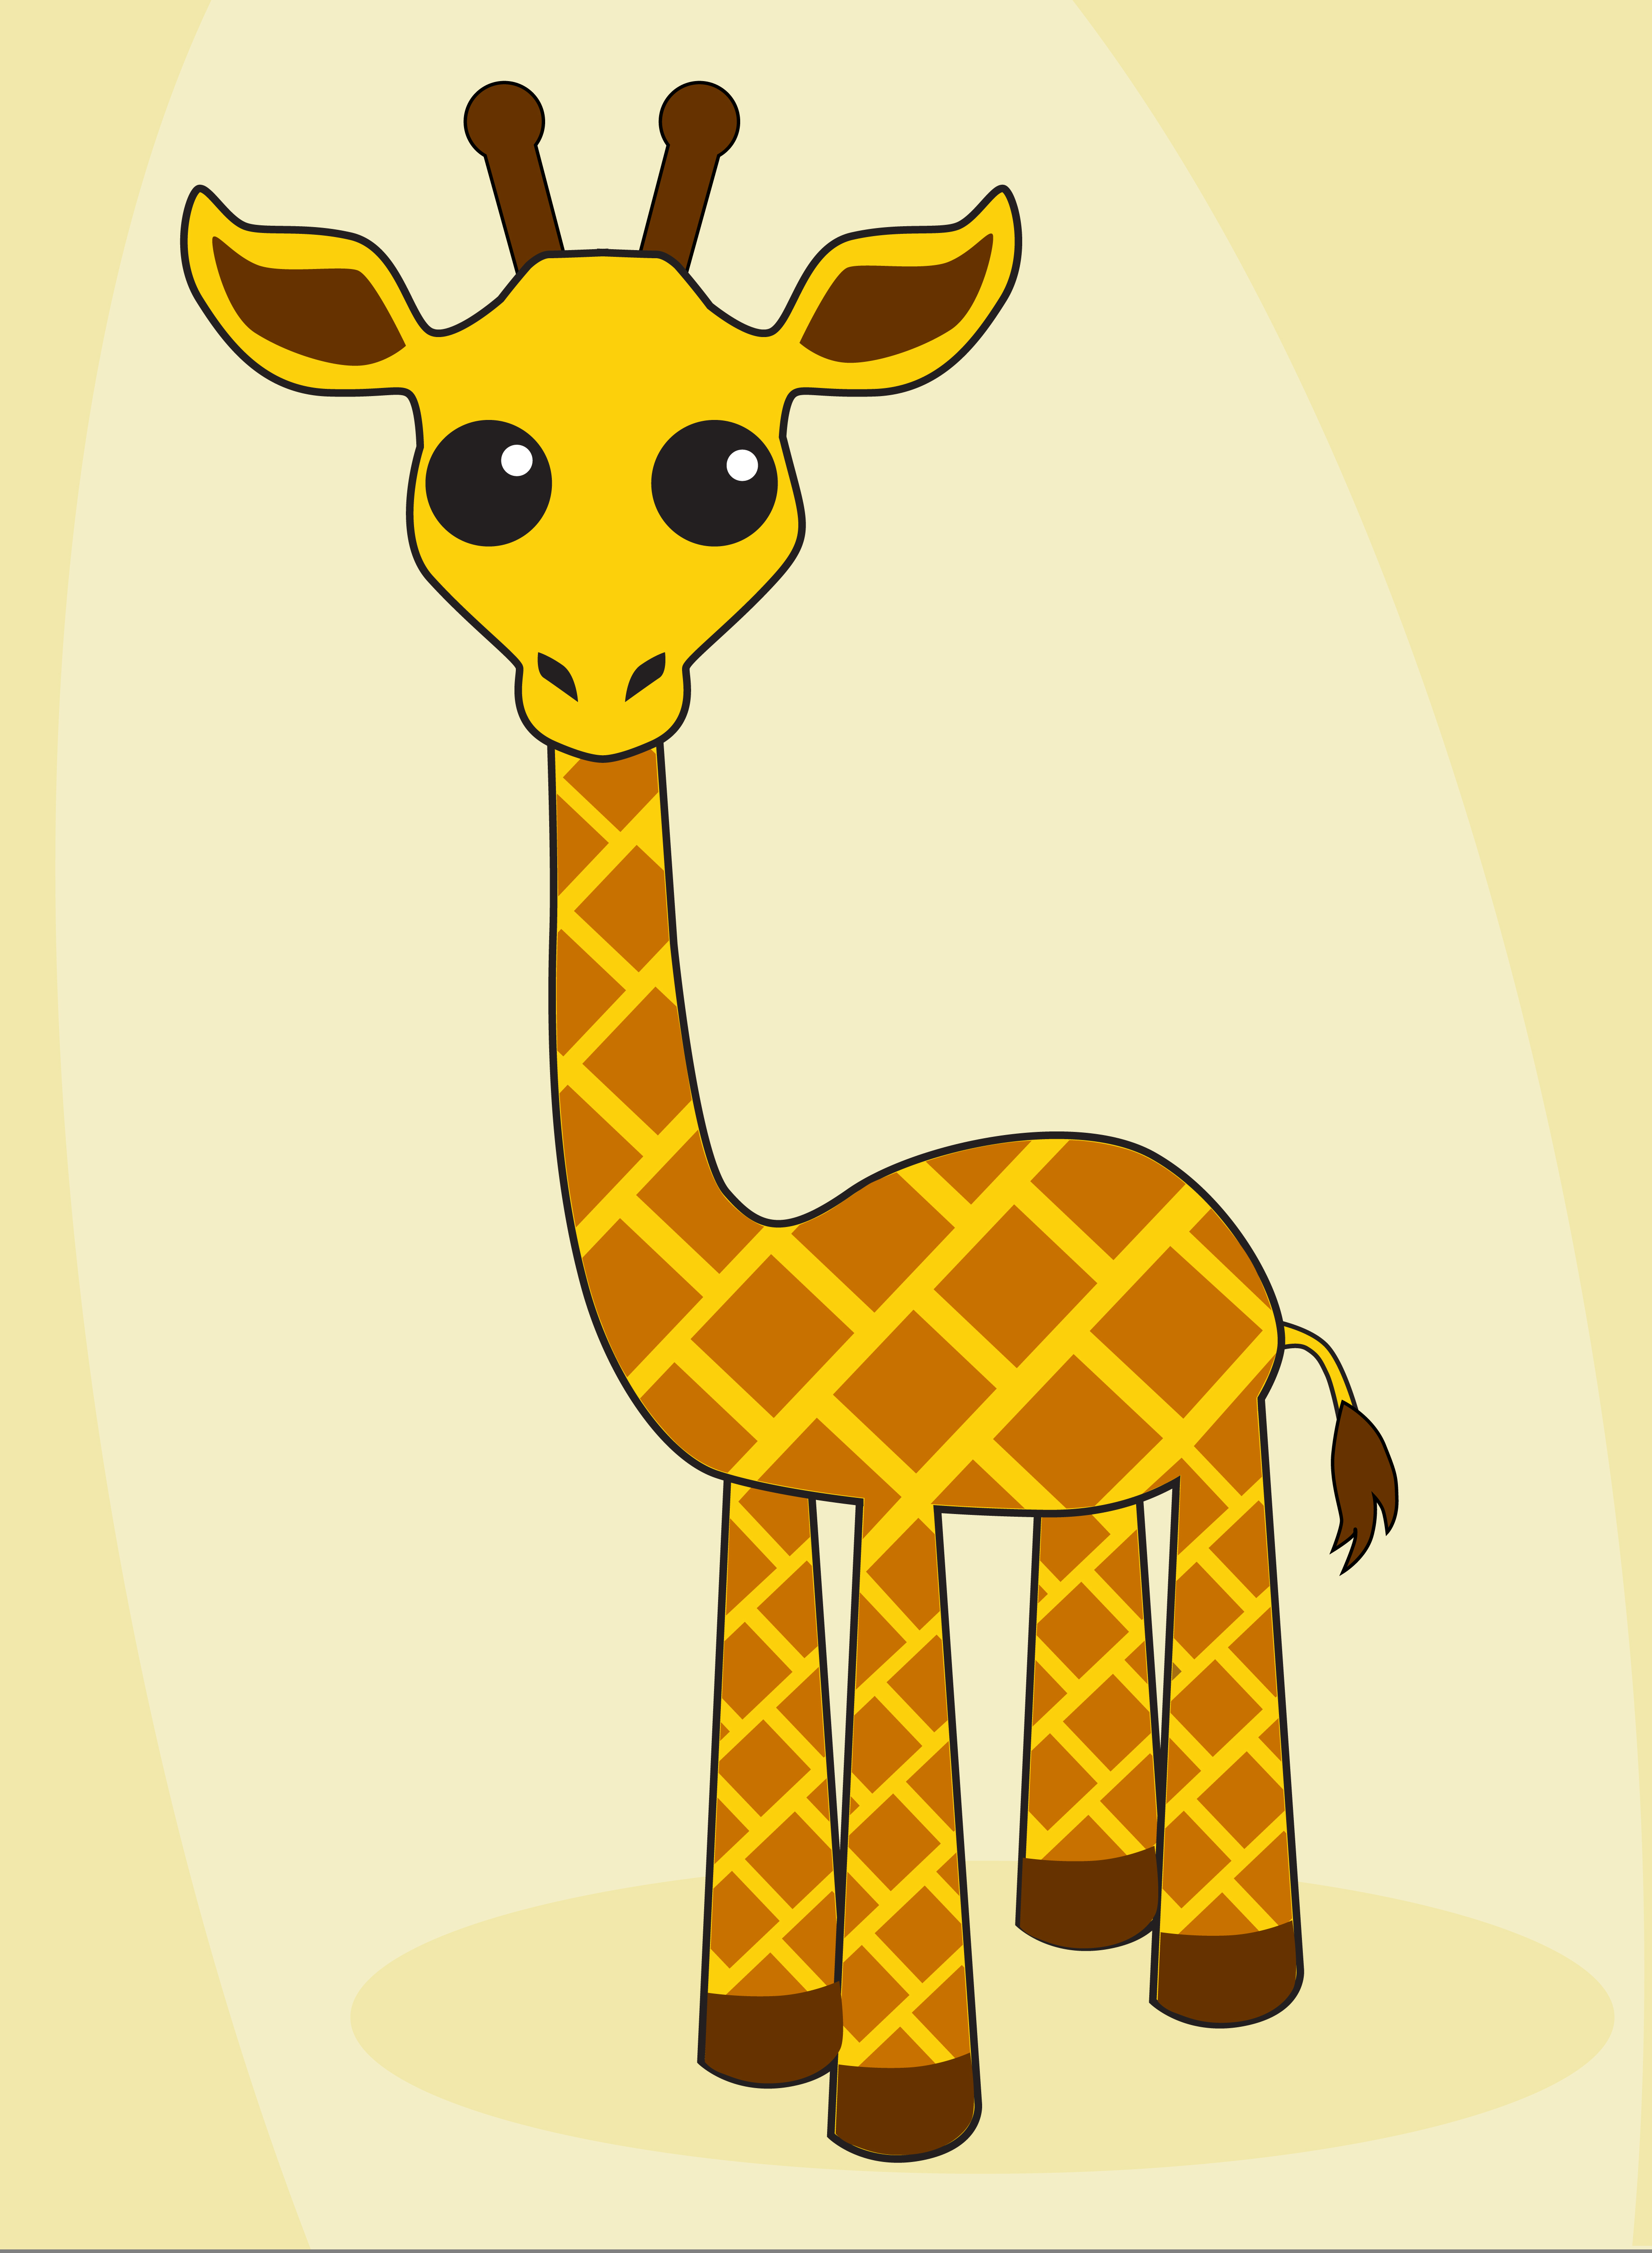
How To Draw A Giraffe - Step By Step Guide For Everyone
Learning how to draw a giraffe can be an exciting and rewarding experience for any aspiring artist. Whether you're a child picking up a pencil for the first time or an adult looking to refresh your artistic skills, drawing a giraffe is a great way to start. This majestic animal's unique features, from its long neck to its spotted coat, make it a fun challenge for beginners and seasoned artists alike. With just a few basic art supplies and a bit of patience, you can create your own giraffe masterpiece.
So, what exactly does it take to draw a giraffe? It's all about breaking the process down into manageable steps. You'll start with simple shapes like ovals and lines, gradually building up to the final image. This method ensures that even if you're new to drawing, you'll have a clear path to follow. Plus, the satisfaction of watching your giraffe come to life is unmatched.
As we explore this tutorial, you'll discover tips and tricks for sketching, shading, and adding those distinctive features that make a giraffe stand out. The goal isn't perfection but enjoyment. So grab your white drawing paper, a permanent black marker, and let's get started. After all, the best part of drawing is the process itself, isn't it?
Table of Contents
- How Can You Start Learning How to Draw a Giraffe?
- What Are the Basic Shapes You Need for Drawing a Giraffe?
- Adding Details - How to Draw a Giraffe's Face?
- How Do You Create a Giraffe's Neck and Body?
- Adding the Final Touches
- How to Draw a Giraffe - Step by Step Tutorial
- Tips for Drawing Realistic Giraffes
- Fun Facts About Giraffes for Kids
How Can You Start Learning How to Draw a Giraffe?
Alright, let’s start with the basics. Drawing a giraffe doesn’t have to be complicated. The key is to take it step by step. First, gather your supplies. You’ll need white drawing paper, a pencil for sketching, and a permanent black marker to outline your drawing. Now, set aside some time to focus. Drawing a giraffe might take around 20 minutes, but if you decide to add a background or extra details, it could take a little longer. So, how do you start?
Well, it's almost like building with blocks. Begin by forming the outline of the giraffe’s head. Use a half-circle shape for the top part. Then, continue the line heading upward to create the elongated neck. This simple step is crucial because it sets the foundation for the rest of the drawing. Don’t worry if it doesn’t look perfect at first; you can always refine it later.
What Are the Basic Shapes You Need for Drawing a Giraffe?
When it comes to drawing a giraffe, shapes are your best friends. Start by sketching an oval for the body. This will serve as the main structure. Then, add a long rectangle for the neck, connecting it to the oval. For the head, draw a smaller oval at the top of the neck. These basic shapes give your giraffe a solid framework. Once you’ve got these down, you can start refining the outline.
You might be wondering why shapes matter so much. Well, they simplify the process. Instead of trying to draw the whole giraffe at once, you break it into smaller, easier-to-manage parts. This way, you can focus on one section at a time, making the entire process much less overwhelming. Plus, it’s a lot of fun to see how those simple shapes transform into a realistic giraffe.
Adding Details - How to Draw a Giraffe's Face?
Now that you’ve got the basic structure, it’s time to bring your giraffe to life by adding facial features. Start by drawing two dots in the top portion of the head for the eyes. Below that, in the wider oval, sketch two more open circles for the cheeks. Finally, draw a small smile to give your giraffe a friendly appearance. These little details make all the difference.
Next, add a curved line for the snout and carve out a protruding top lip and rounded chin. Don’t forget to include a nostril above the mouth. To make the face even more realistic, draw in some straight lines with small circles at the end to create the little horns. These horns are a distinctive feature of giraffes and add authenticity to your drawing. It’s all about paying attention to the little things.
How Do You Create a Giraffe's Neck and Body?
The giraffe’s neck is one of its most iconic features, so let’s focus on that next. Sketch a long mane that runs along the neck, giving it a more natural look. Then, move on to the body. Use curved lines to define the muscular legs and patterned body. Remember, giraffes have a unique spotted coat, so don’t forget to add those brown shapes. This is where you can get creative and make your giraffe truly unique.
Adding the hooves at the bottom of the paws and the tail using curved lines completes the overall structure. These details might seem small, but they contribute to the overall realism of your drawing. By now, your giraffe should be starting to take shape. Keep refining the outline until you’re happy with the result.
Adding the Final Touches
Once the basic structure and details are in place, it’s time to add the finishing touches. Use your permanent black marker to outline your drawing, making it stand out. This step gives your giraffe a polished look. If you want, you can also add some decorative elements or a background to make your artwork even more impressive.
For instance, you could draw a few trees or grass around your giraffe to create a savanna scene. This not only enhances your drawing but also adds context to your artwork. Don’t be afraid to experiment and let your creativity shine. After all, art is all about expressing yourself, right?
How to Draw a Giraffe - Step by Step Tutorial
Here’s a quick recap of the steps we’ve covered so far:
- Gather your supplies: white drawing paper, pencil, and permanent black marker.
- Start with basic shapes: oval for the body, rectangle for the neck, and smaller oval for the head.
- Add facial features: eyes, cheeks, smile, snout, and horns.
- Sketch the neck and body: include the mane, legs, hooves, and tail.
- Refine the outline and add details: spots, background, and decorative elements.
Follow these steps, and you’ll have a beautiful giraffe drawing in no time. It’s all about taking it one step at a time and enjoying the process.
Tips for Drawing Realistic Giraffes
For those looking to take their giraffe drawings to the next level, here are a few tips. Pay attention to proportions. The giraffe’s neck should be longer than its body, and its legs should be strong and muscular. Use shading to add depth and dimension to your drawing. This technique can make your giraffe look more realistic.
Another tip is to study real giraffes. Look at photos or videos to understand their anatomy better. Notice how their spots vary in size and shape. These observations can help you create a more authentic drawing. Remember, practice makes perfect. The more you draw, the better you’ll get.
Fun Facts About Giraffes for Kids
In this art project, kids can learn more about giraffes while they draw. For example, did you know that giraffes are the tallest land animals? They can grow up to 18 feet tall! Their long necks help them reach leaves high up in trees. Also, each giraffe has a unique pattern of spots, much like a human fingerprint.
This tutorial isn’t just about drawing; it’s also about learning. Kids can discover interesting facts about giraffes, their colors, and conservation efforts. It’s a fun and educational way to spark curiosity and creativity. So, grab your pencils and let’s draw a giraffe together!
Summary
We’ve covered quite a bit in this tutorial. From gathering supplies to adding the final touches, you now know how to draw a giraffe step by step. Remember, the key is to take it slow and enjoy the process. Whether you’re drawing for fun or learning new skills, this tutorial provides a simple and engaging way to create your own giraffe masterpiece. So, what are you waiting for? Grab your supplies and start drawing!

How to Draw a Giraffe - Step by Step Tutorial | Skip To My Lou

How To Draw A Giraffe - Draw Central
Cute Giraffe Drawing at GetDrawings | Free download
